
Step 1.
We start by cutting the base and backrest of the throne. To make these cuts, I used our small but mighty Cream 200. I continue cutting all the necessary pieces.
Step 2.
Having already cut the diamonds that will make up the backrest padding, you can proceed by using sandpaper to bevel the edges. Make sure the pieces fit together once sanded; if they don’t, you should start over to achieve good results.
Step 3.
The fun part of the project has arrived: painting! Use water-based acrylic paints, and there’s nothing else to add. Feel free to choose your favorite colors!
Step 4.
The time has come to assemble! I used silicone to glue the styrofoam pieces together.


I also used silicone for the decorative pieces.
Tip: Make sure to create a template for the decorations if you want to place them in the designated spot.


EXTRA: Snakes
Cut the shape of a snake. Depending on the desired size of the snake, you should make the cut on the polystyrene with a little extra thickness, which will help you later to make the base uneven, making the snake appear more realistic. Then, begin sanding using sandpaper. Once the basic steps are done, move on to the painting phase. I chose the coral snake pattern, so I outlined the sections on the polystyrene that will be painted later.


Result.
If you want to work with this material for your business, check out our CNC foam Cutting Machines.
Related posts.

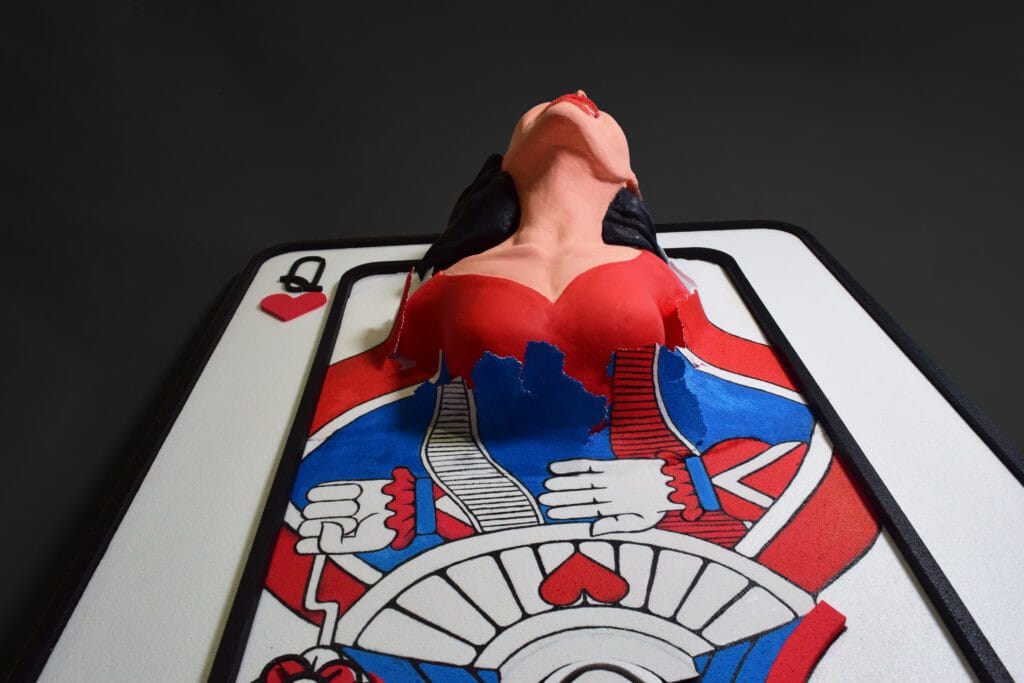
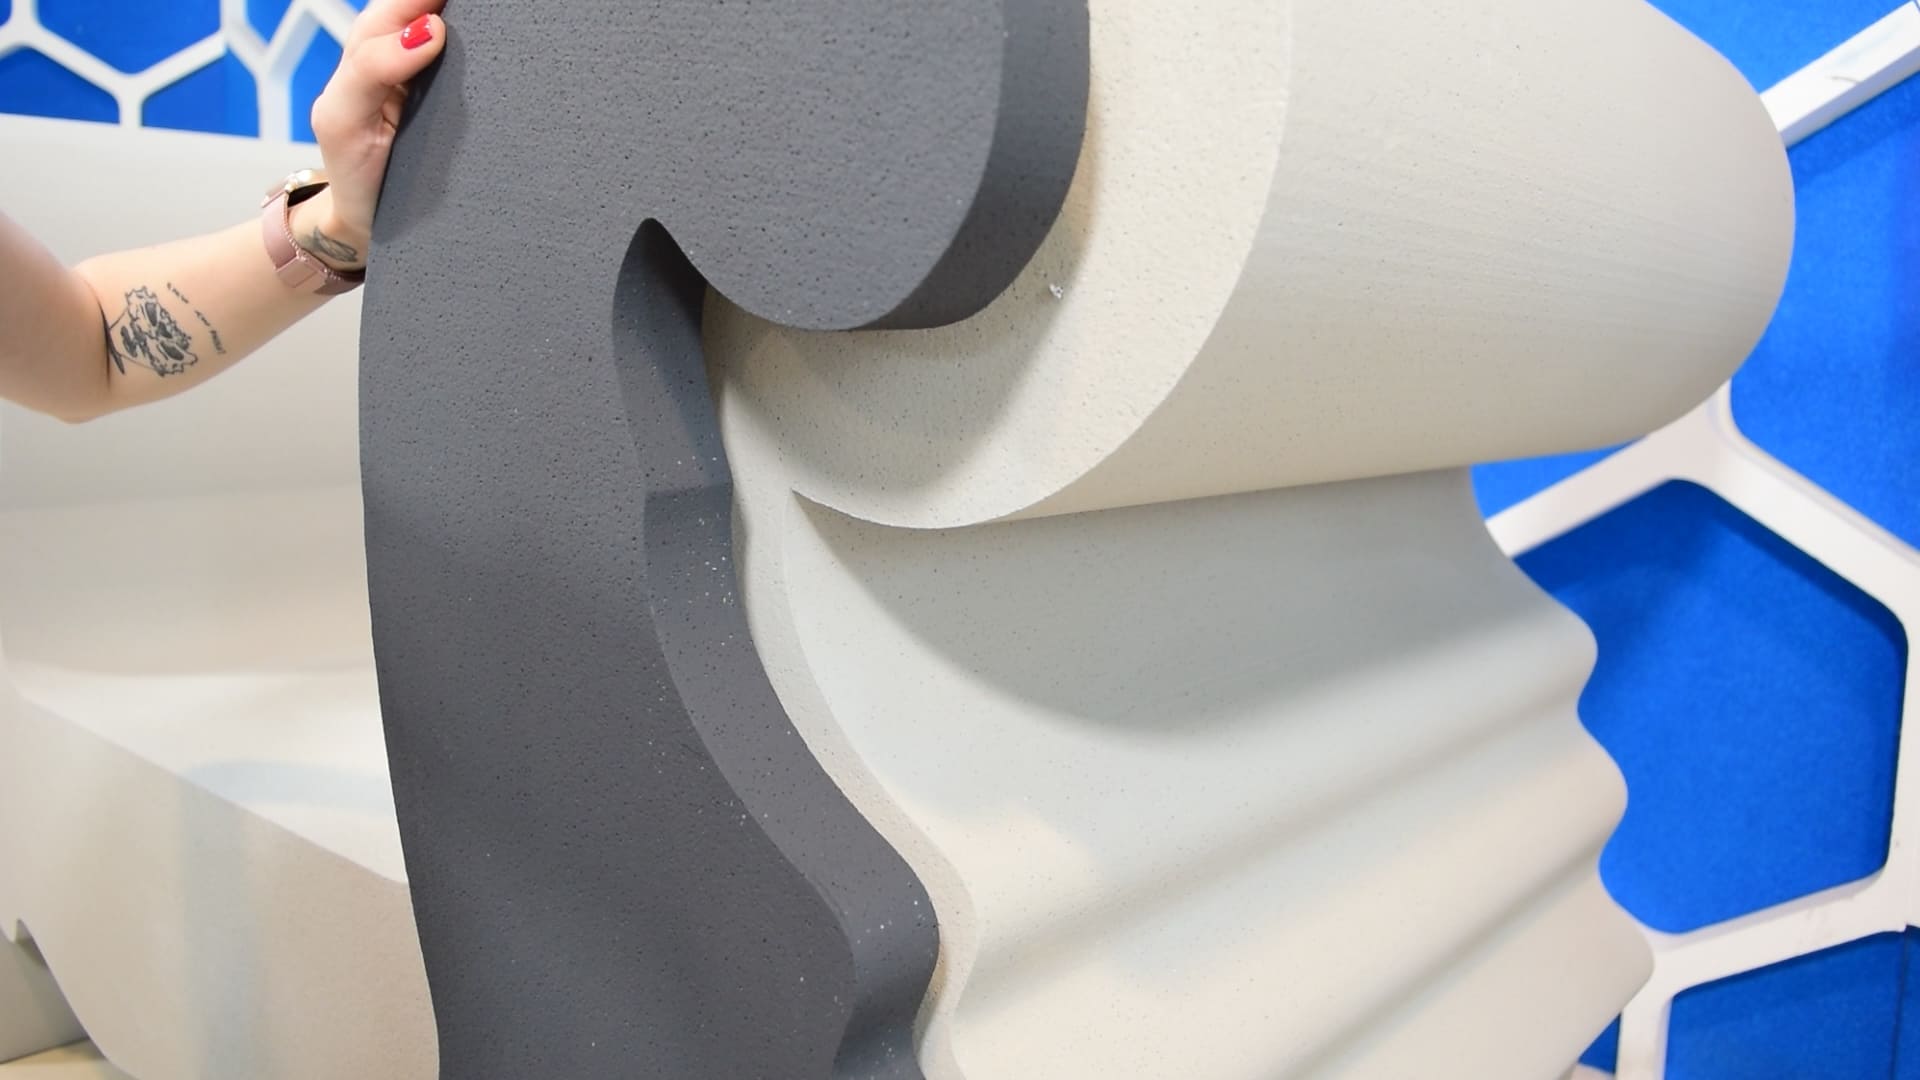
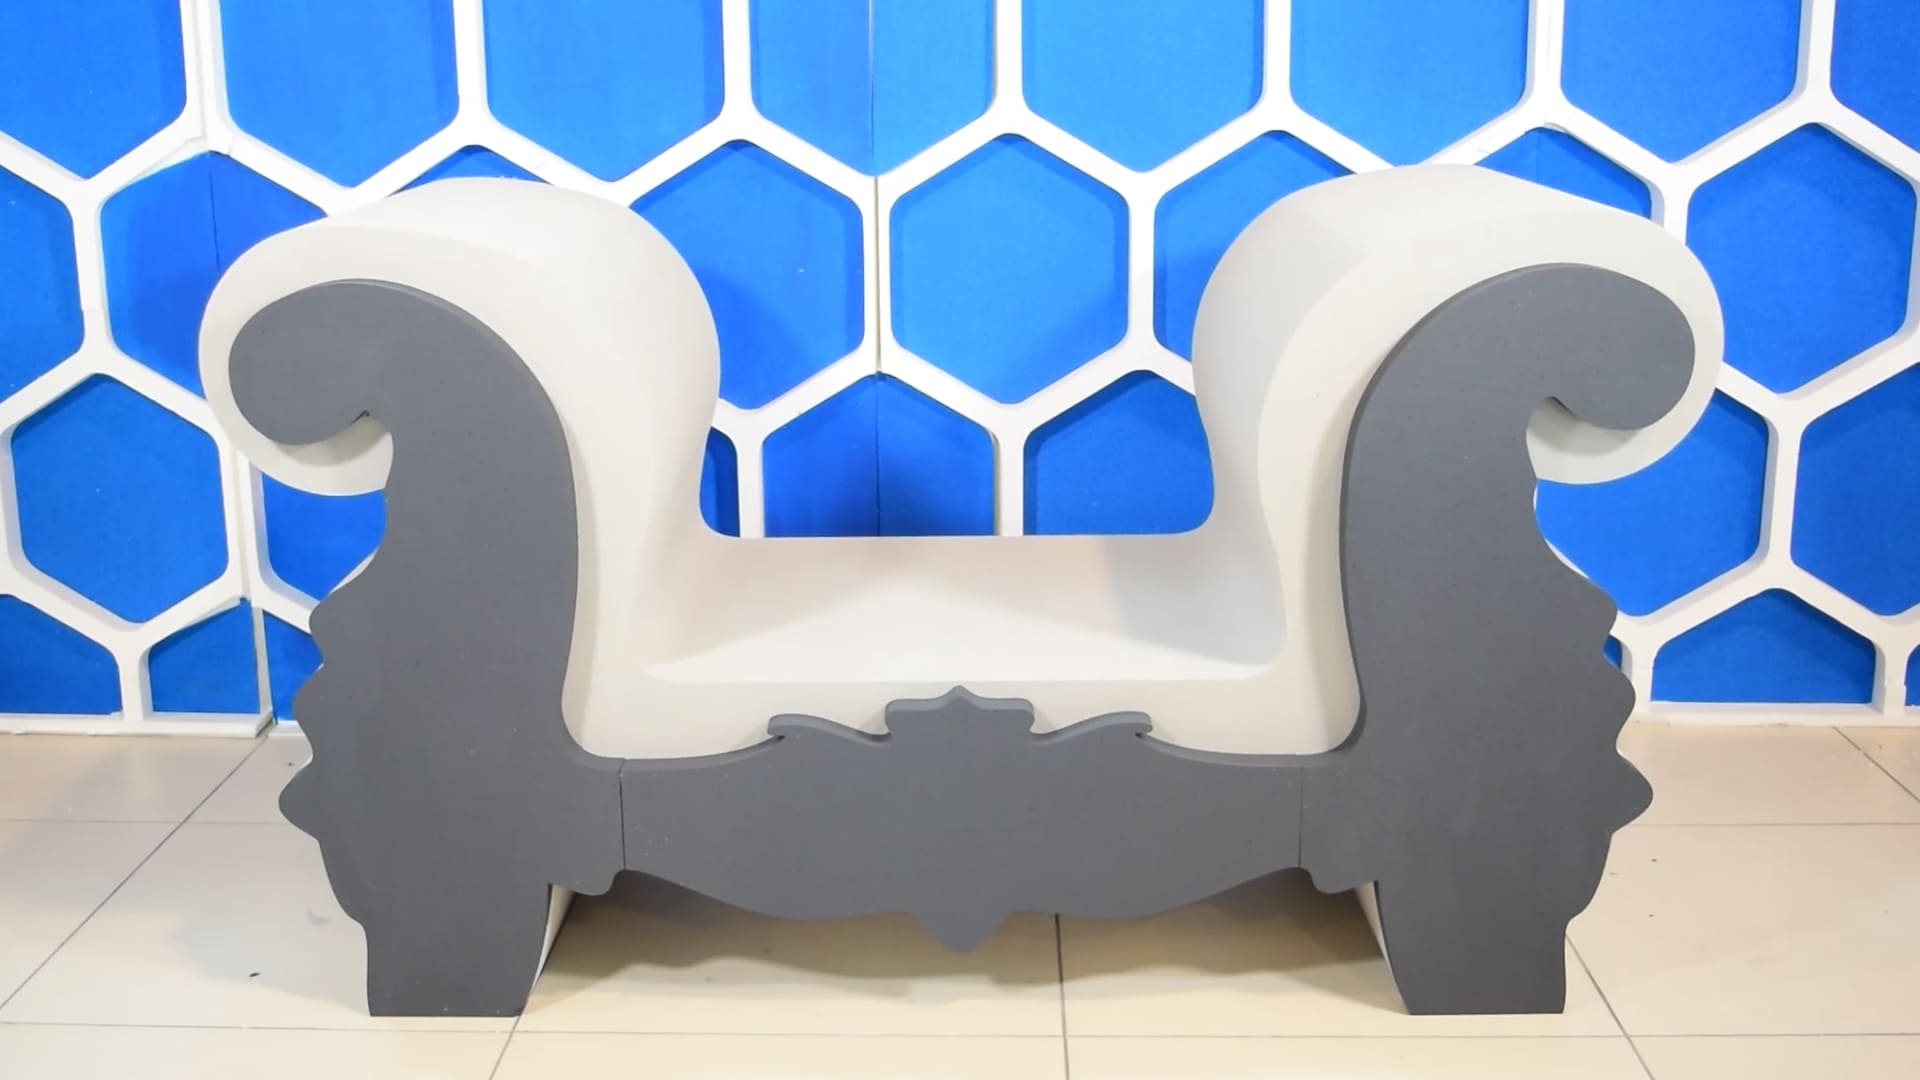
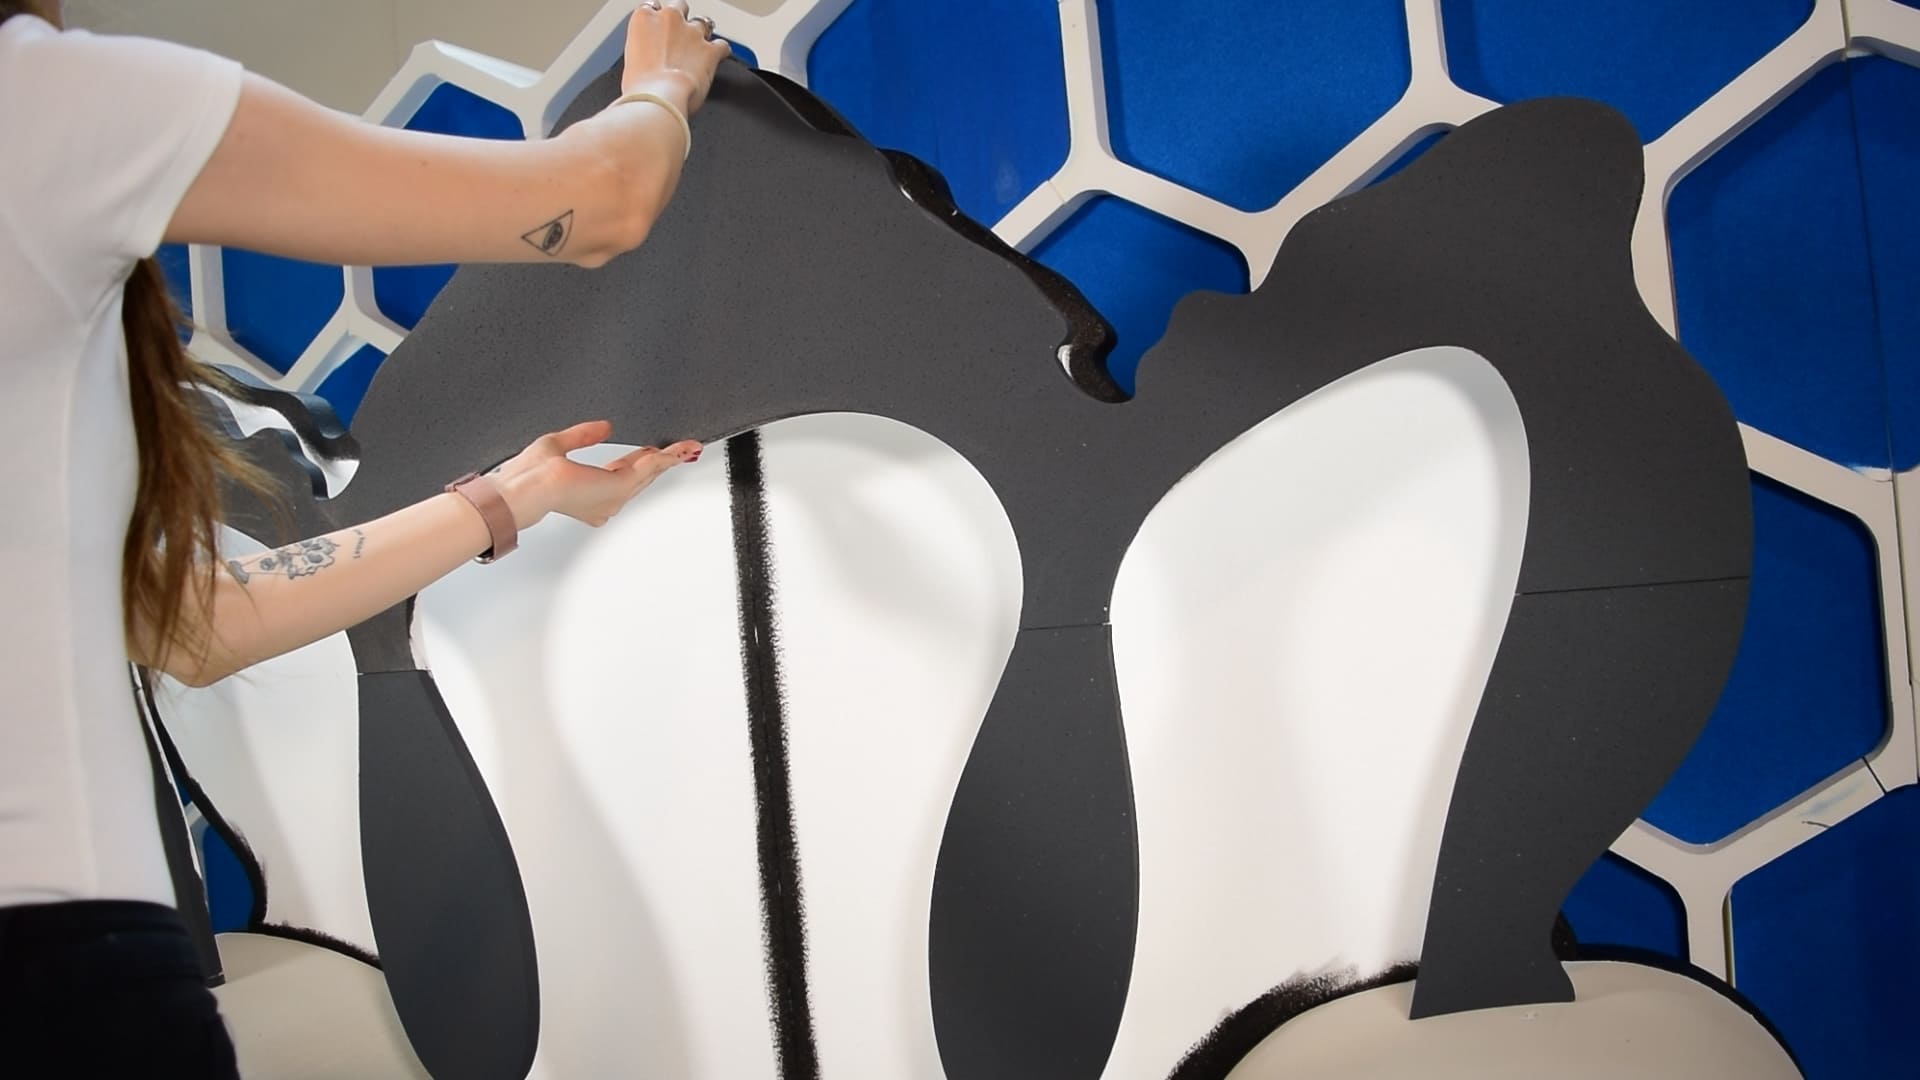
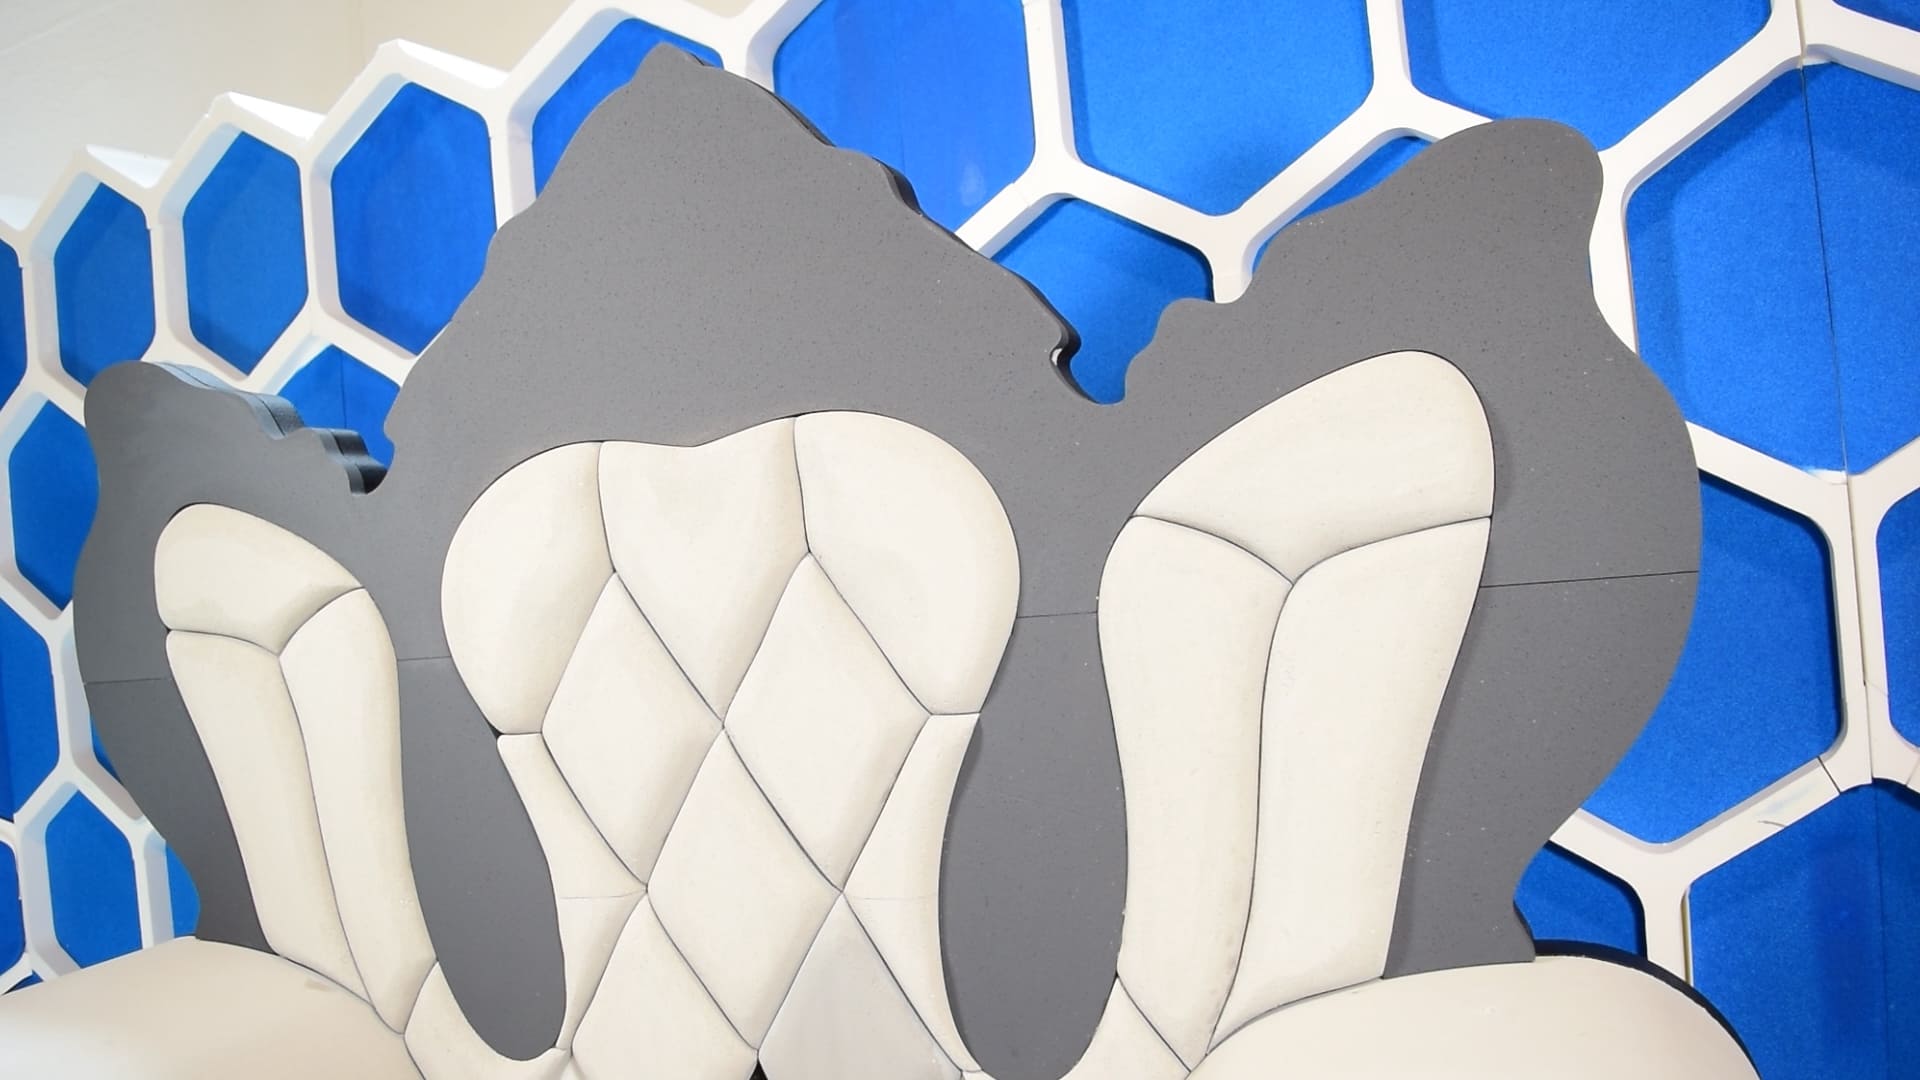
Polystyrene sculpture of the Queen of Hearts
Queen of hearts foam sculpture card Let’s see together how to create this magnificent Queen of Hearts card using only expanded

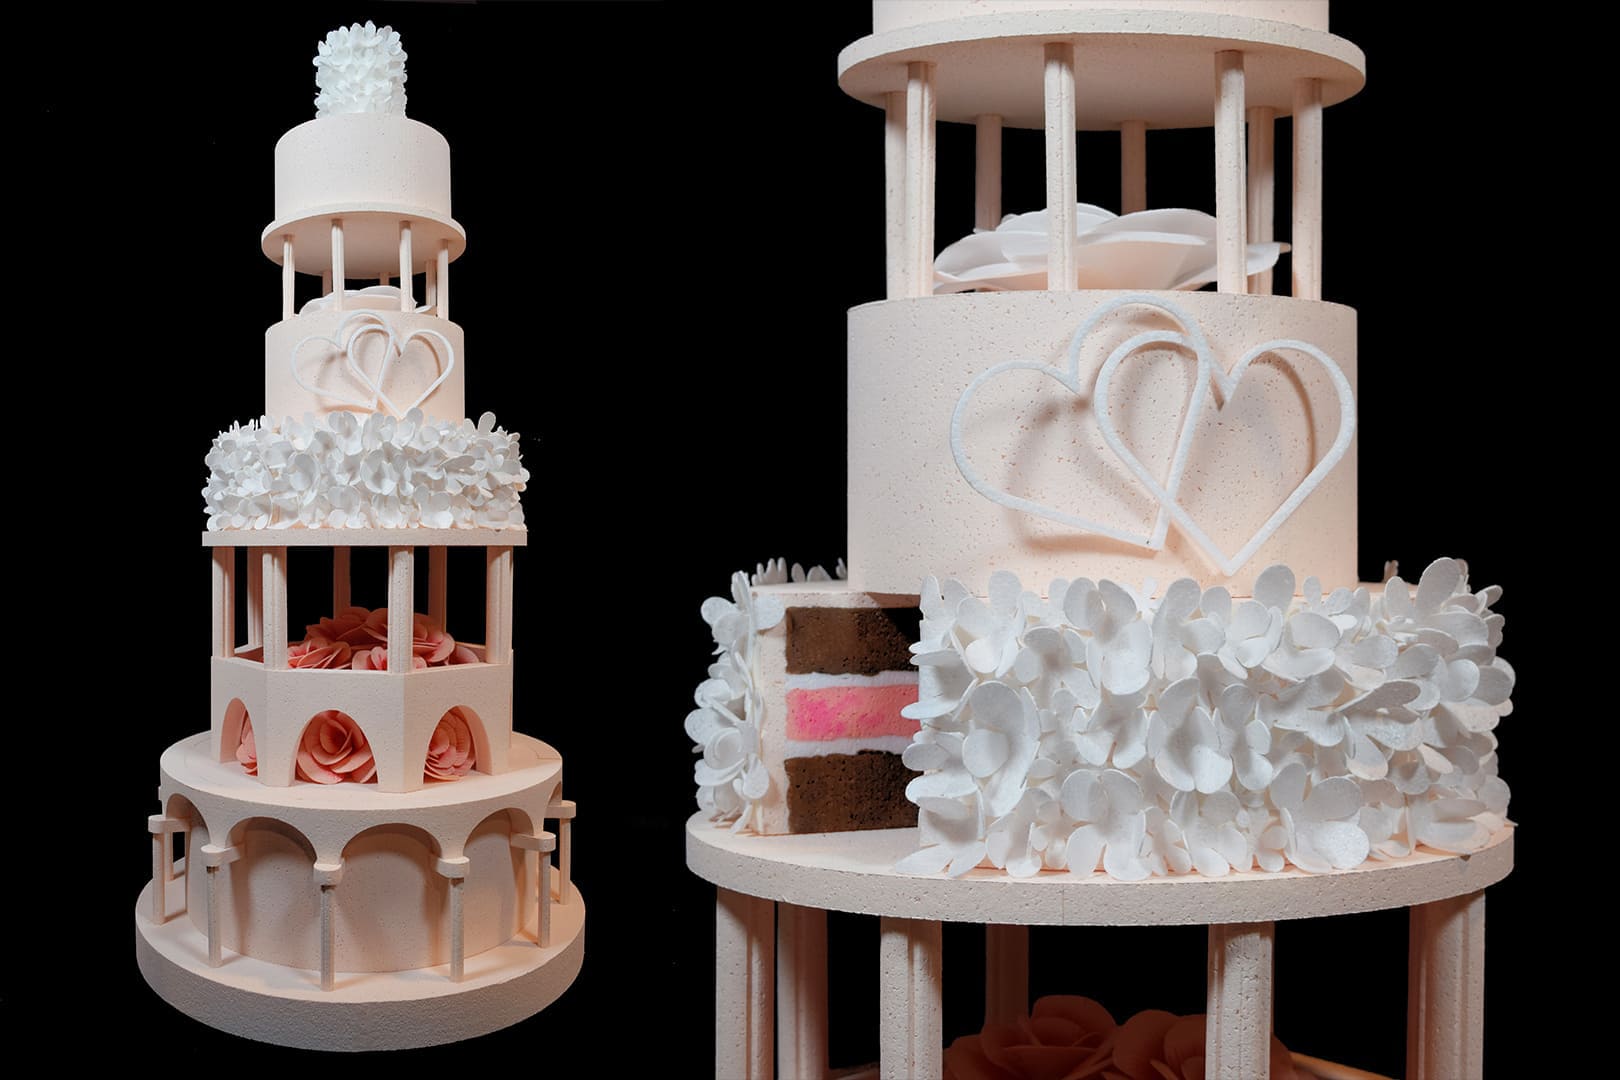
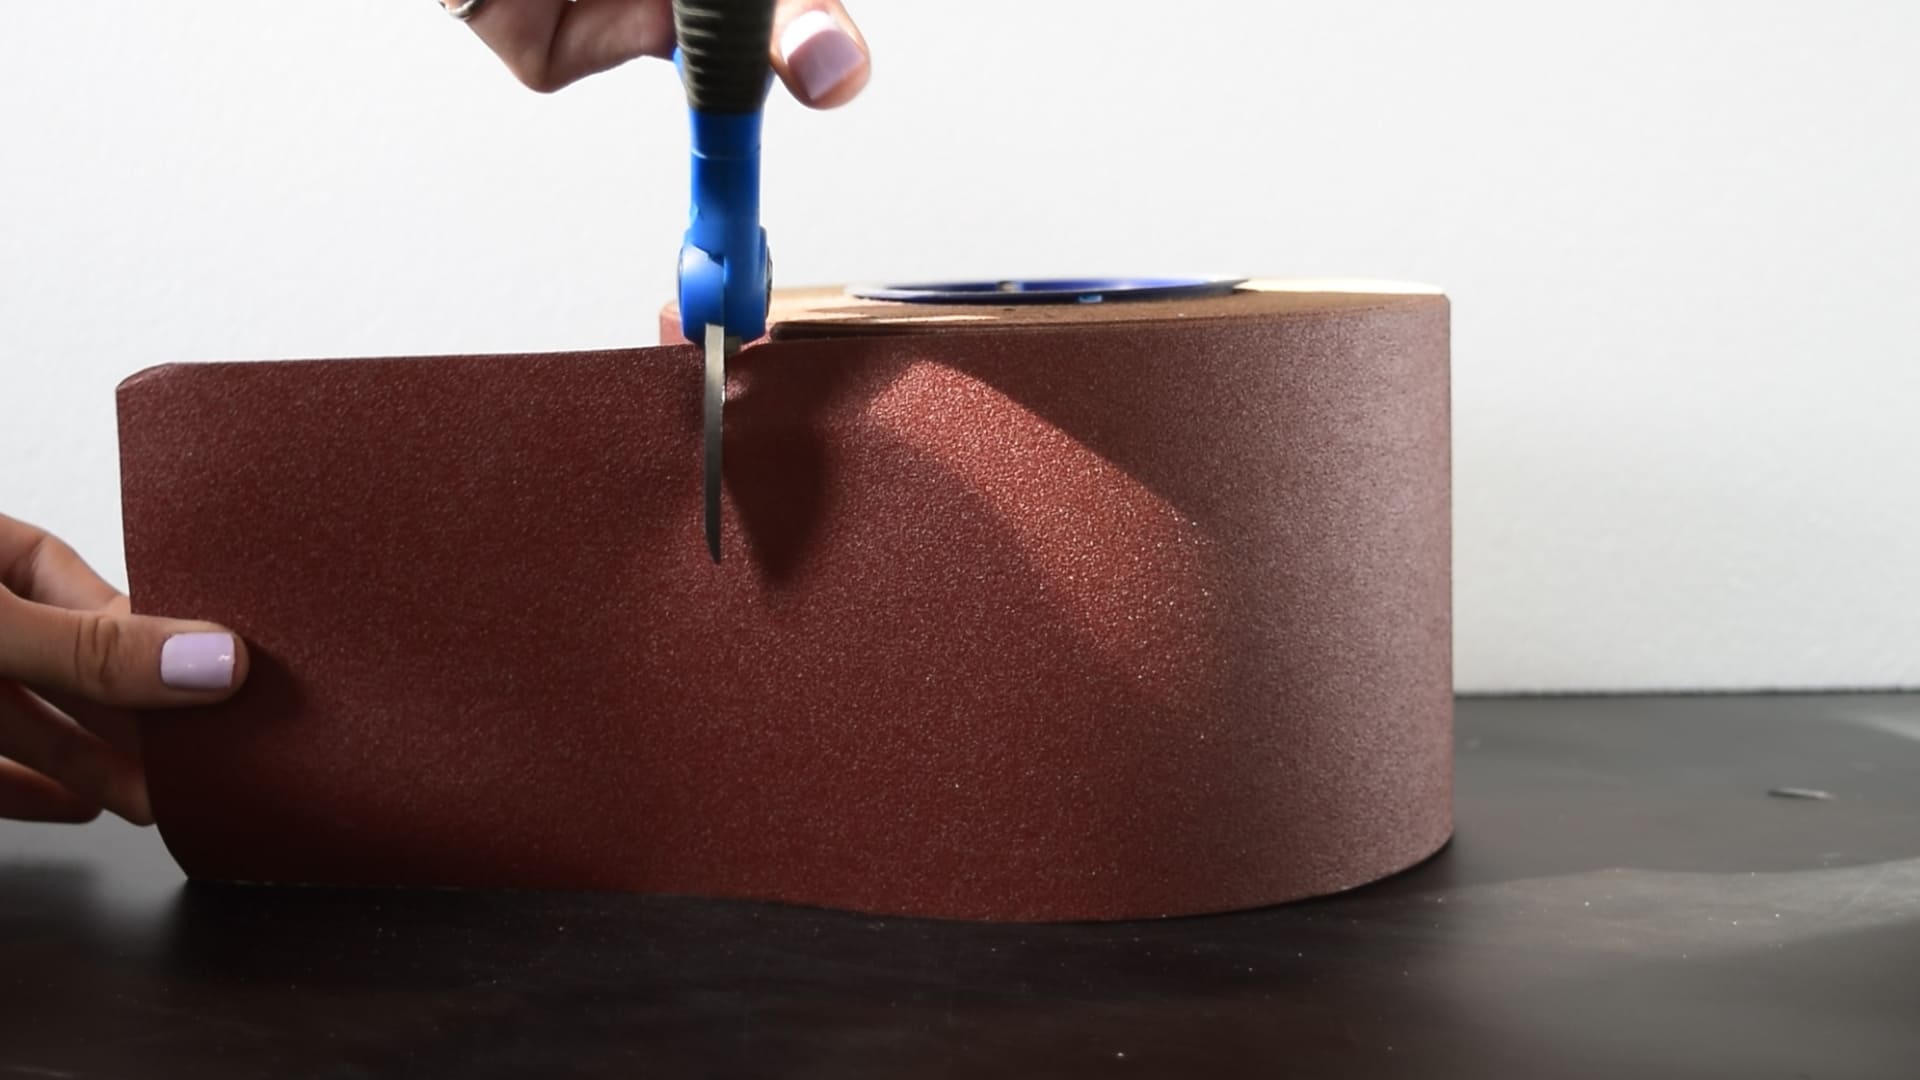
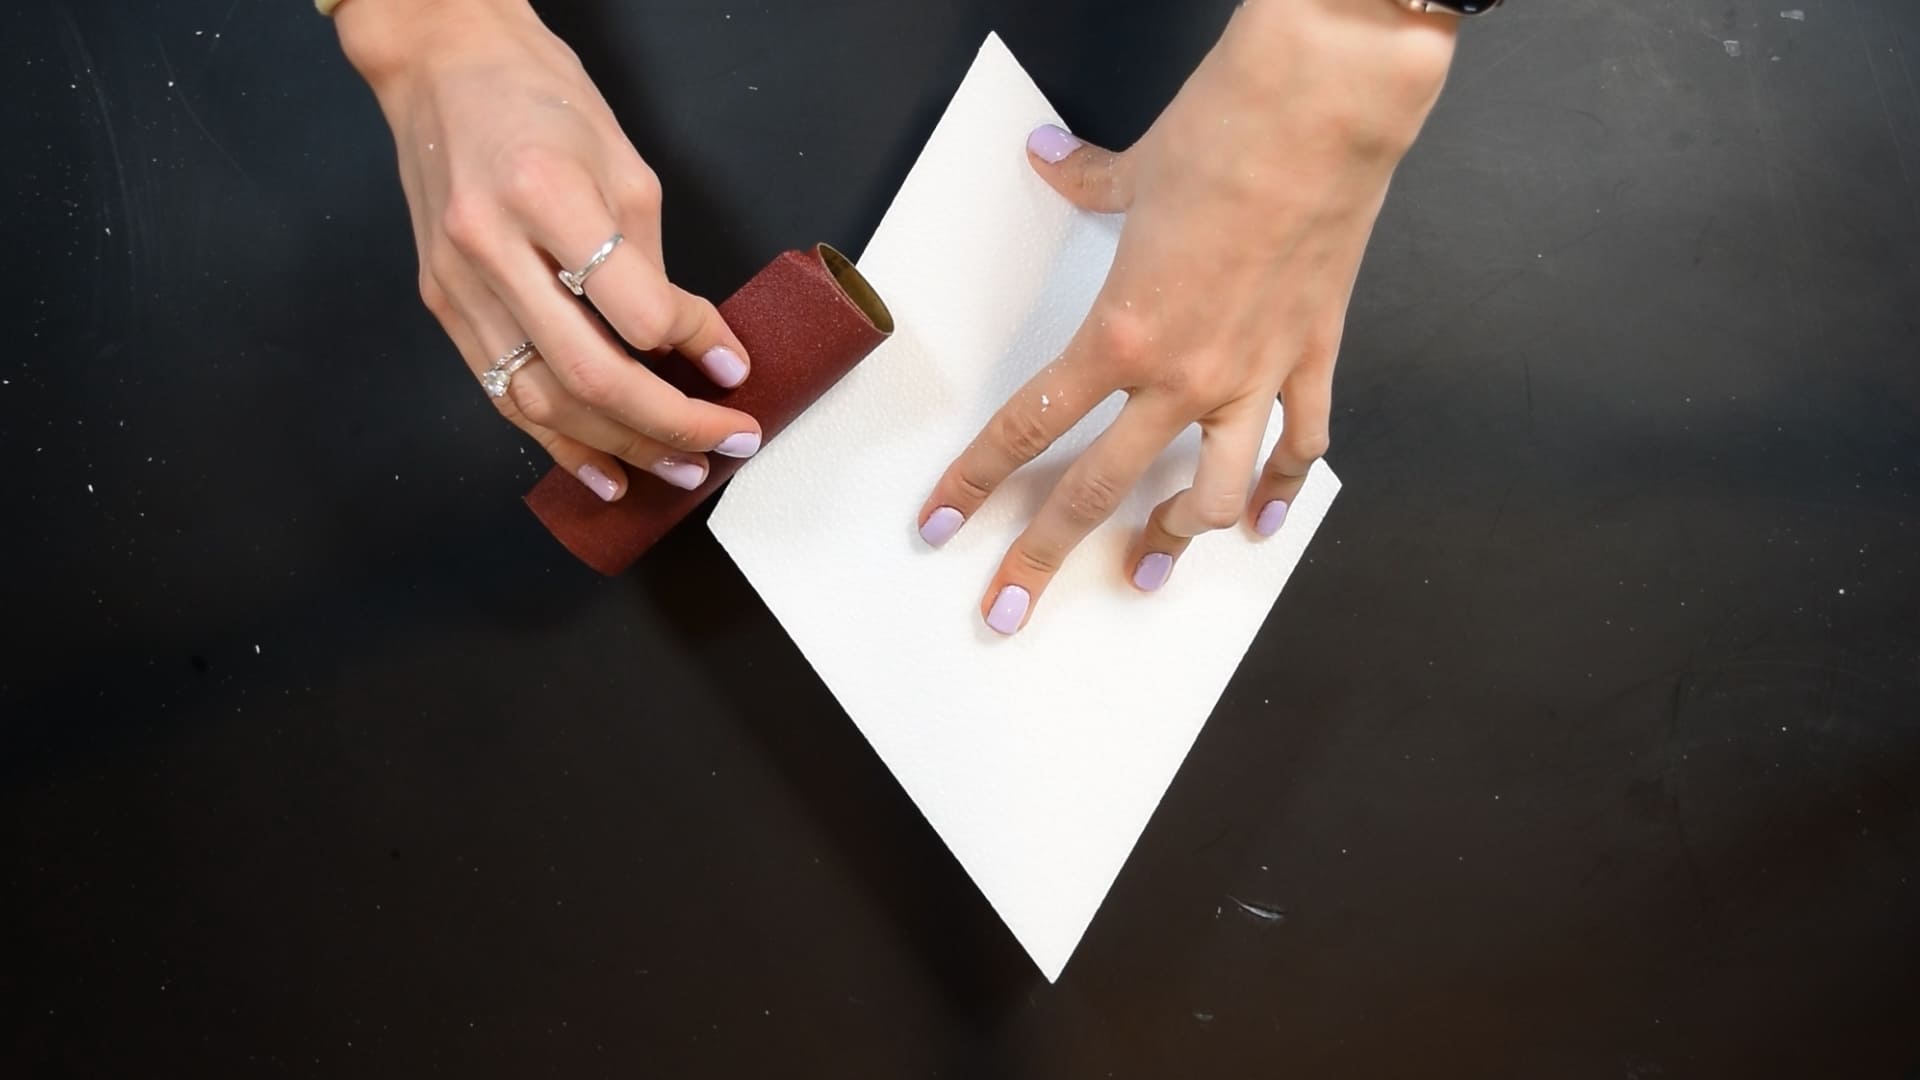
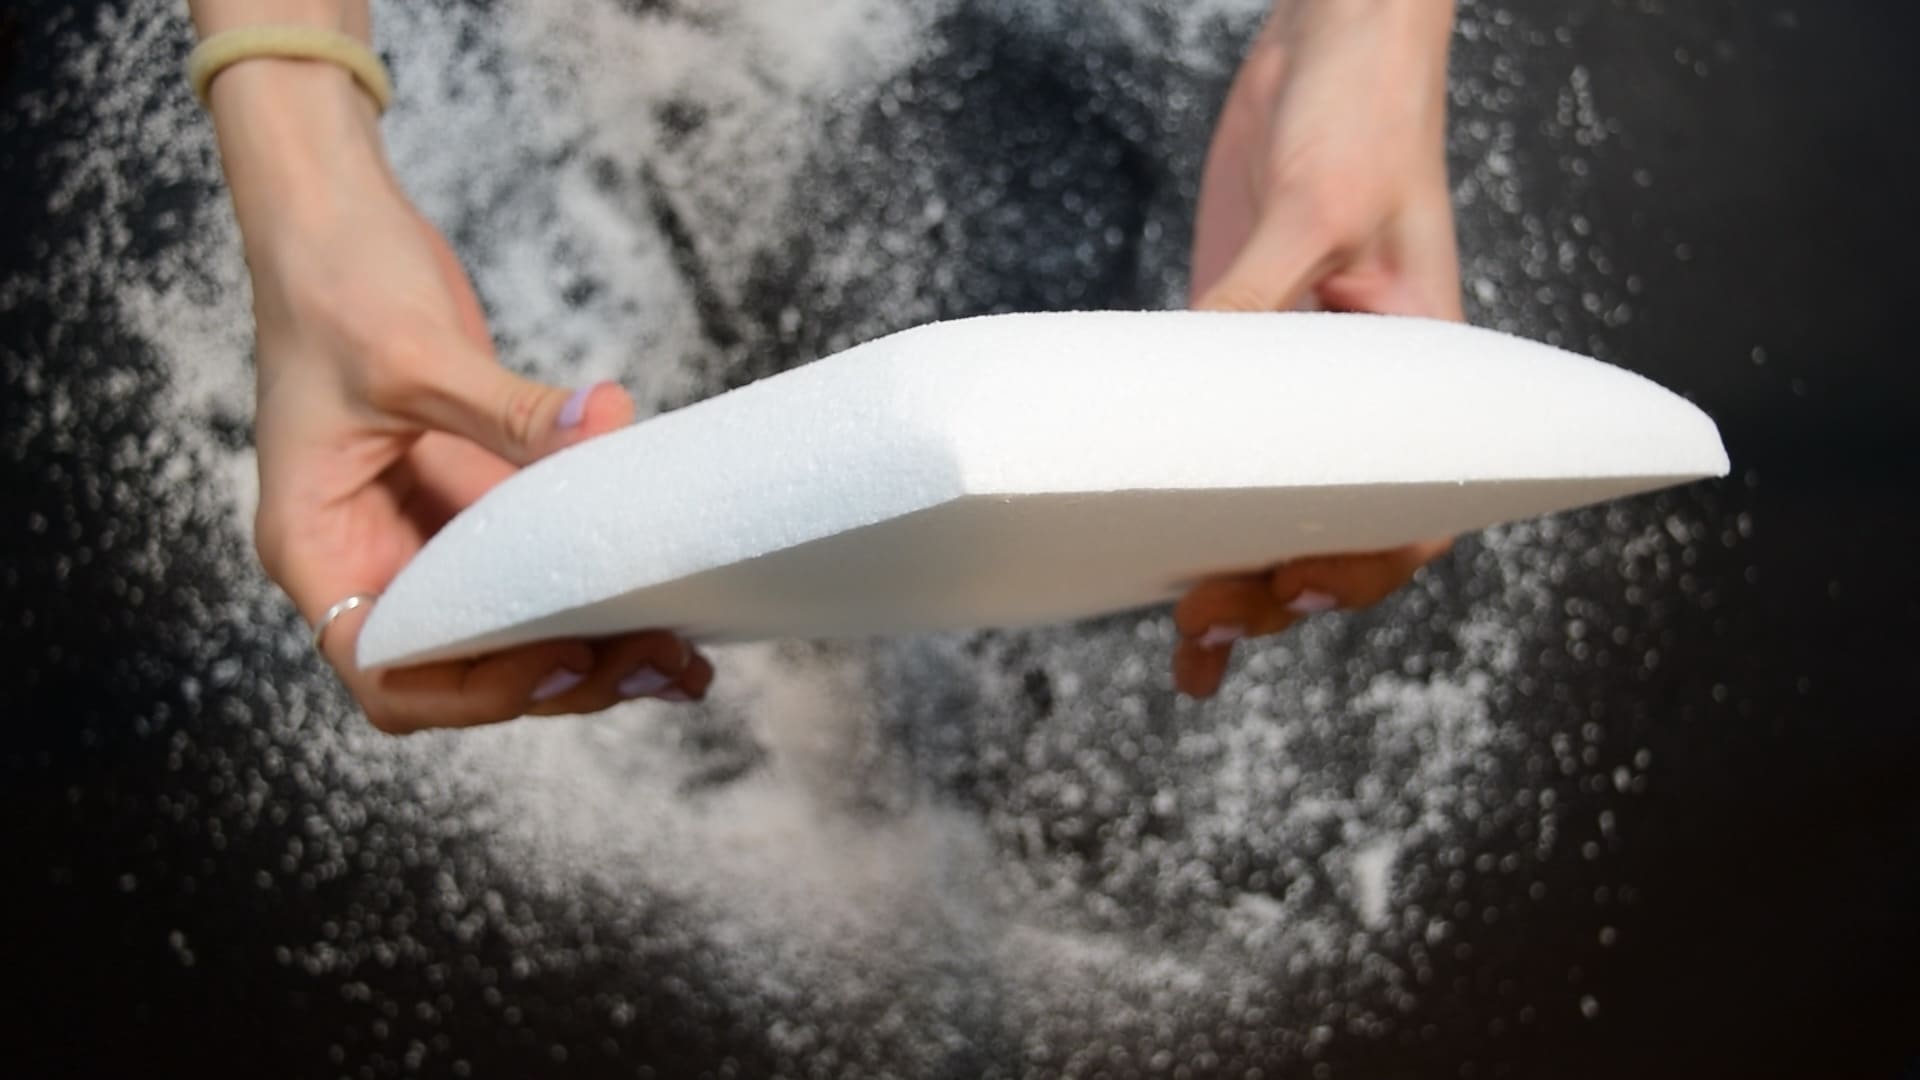
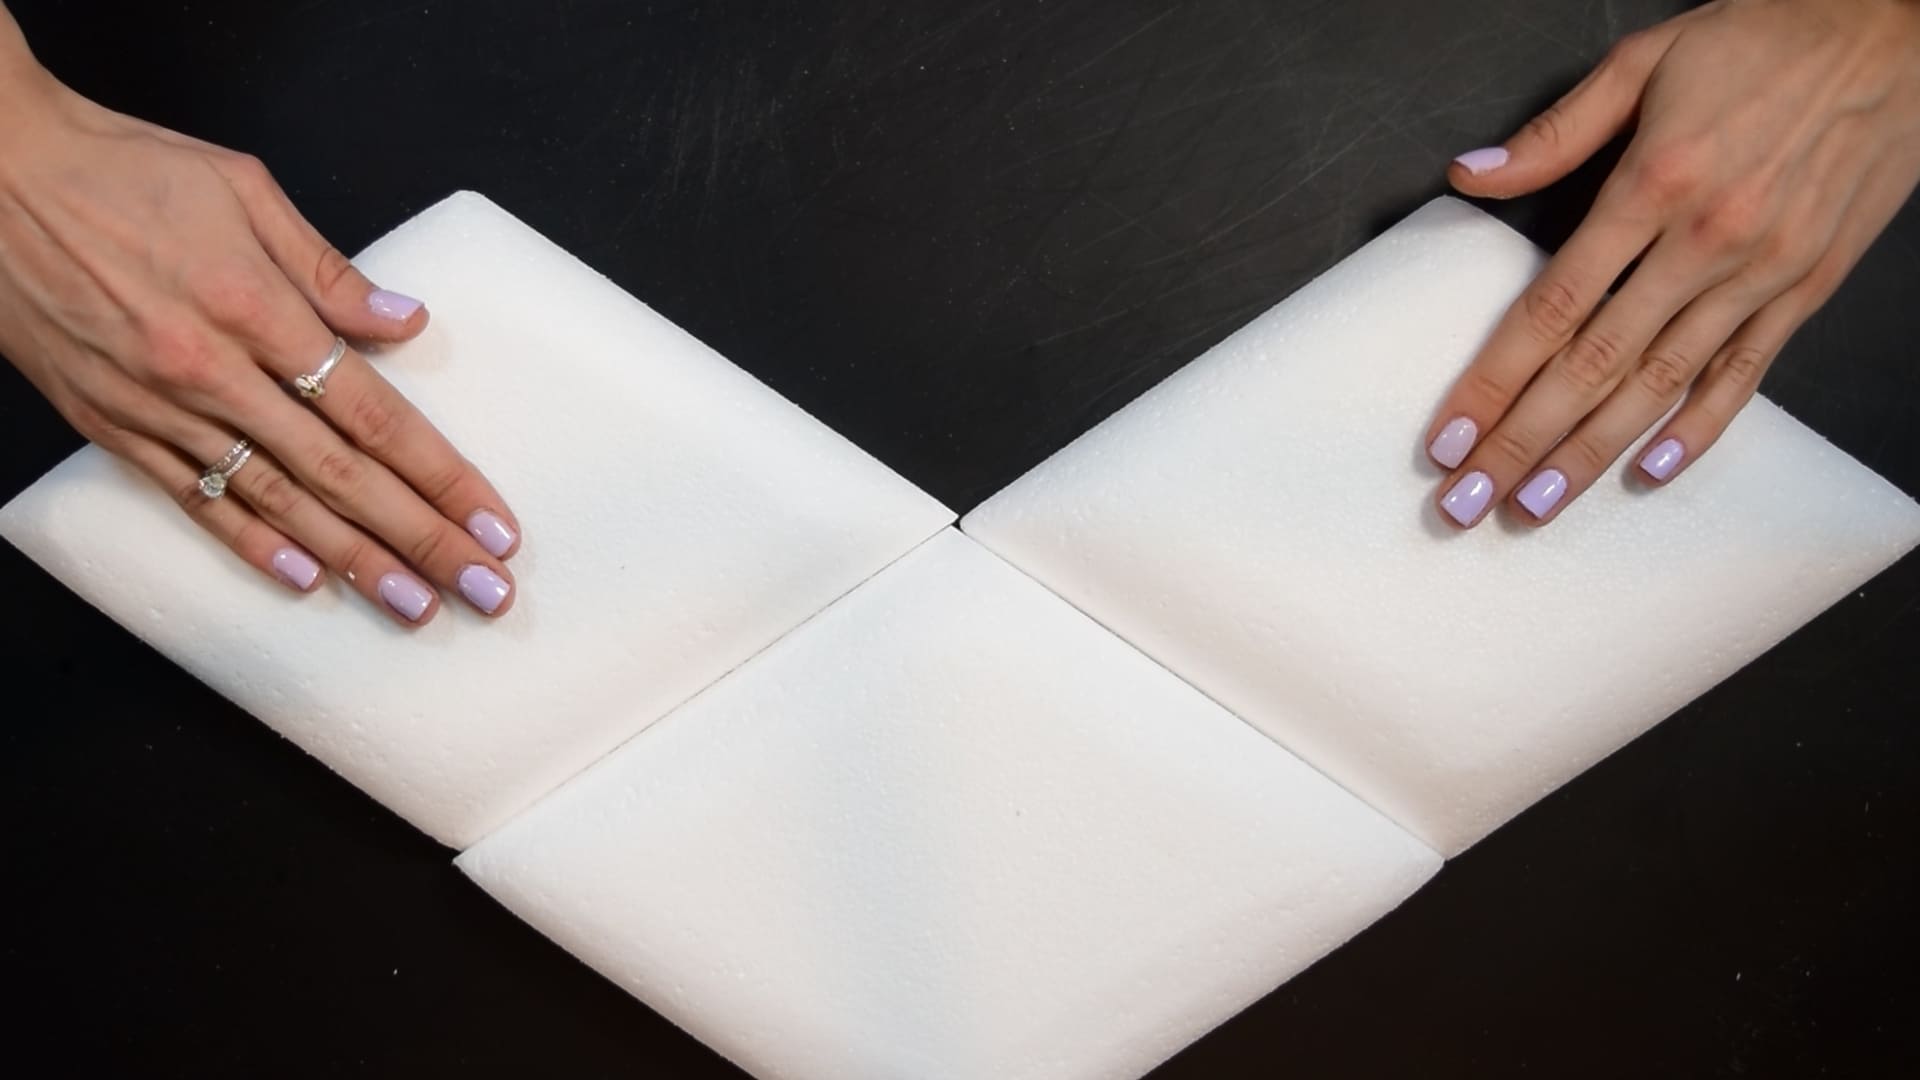
How to make a deco EPS cake
Decorative foam cake Recently, we’ve noticed that fake styrofoam cakes are popping up everywhere on social media, so we thought we’d