

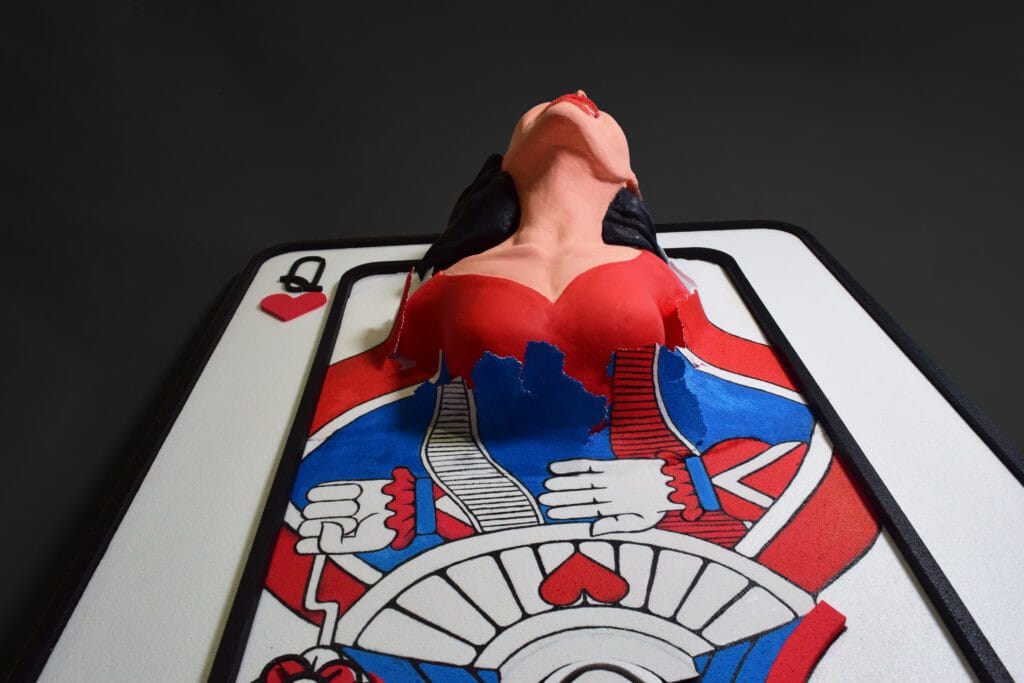
Polystyrene sculpture of the Queen of Hearts
Queen of hearts foam sculpture card Let’s see together how to create this magnificent Queen of Hearts card using only expanded
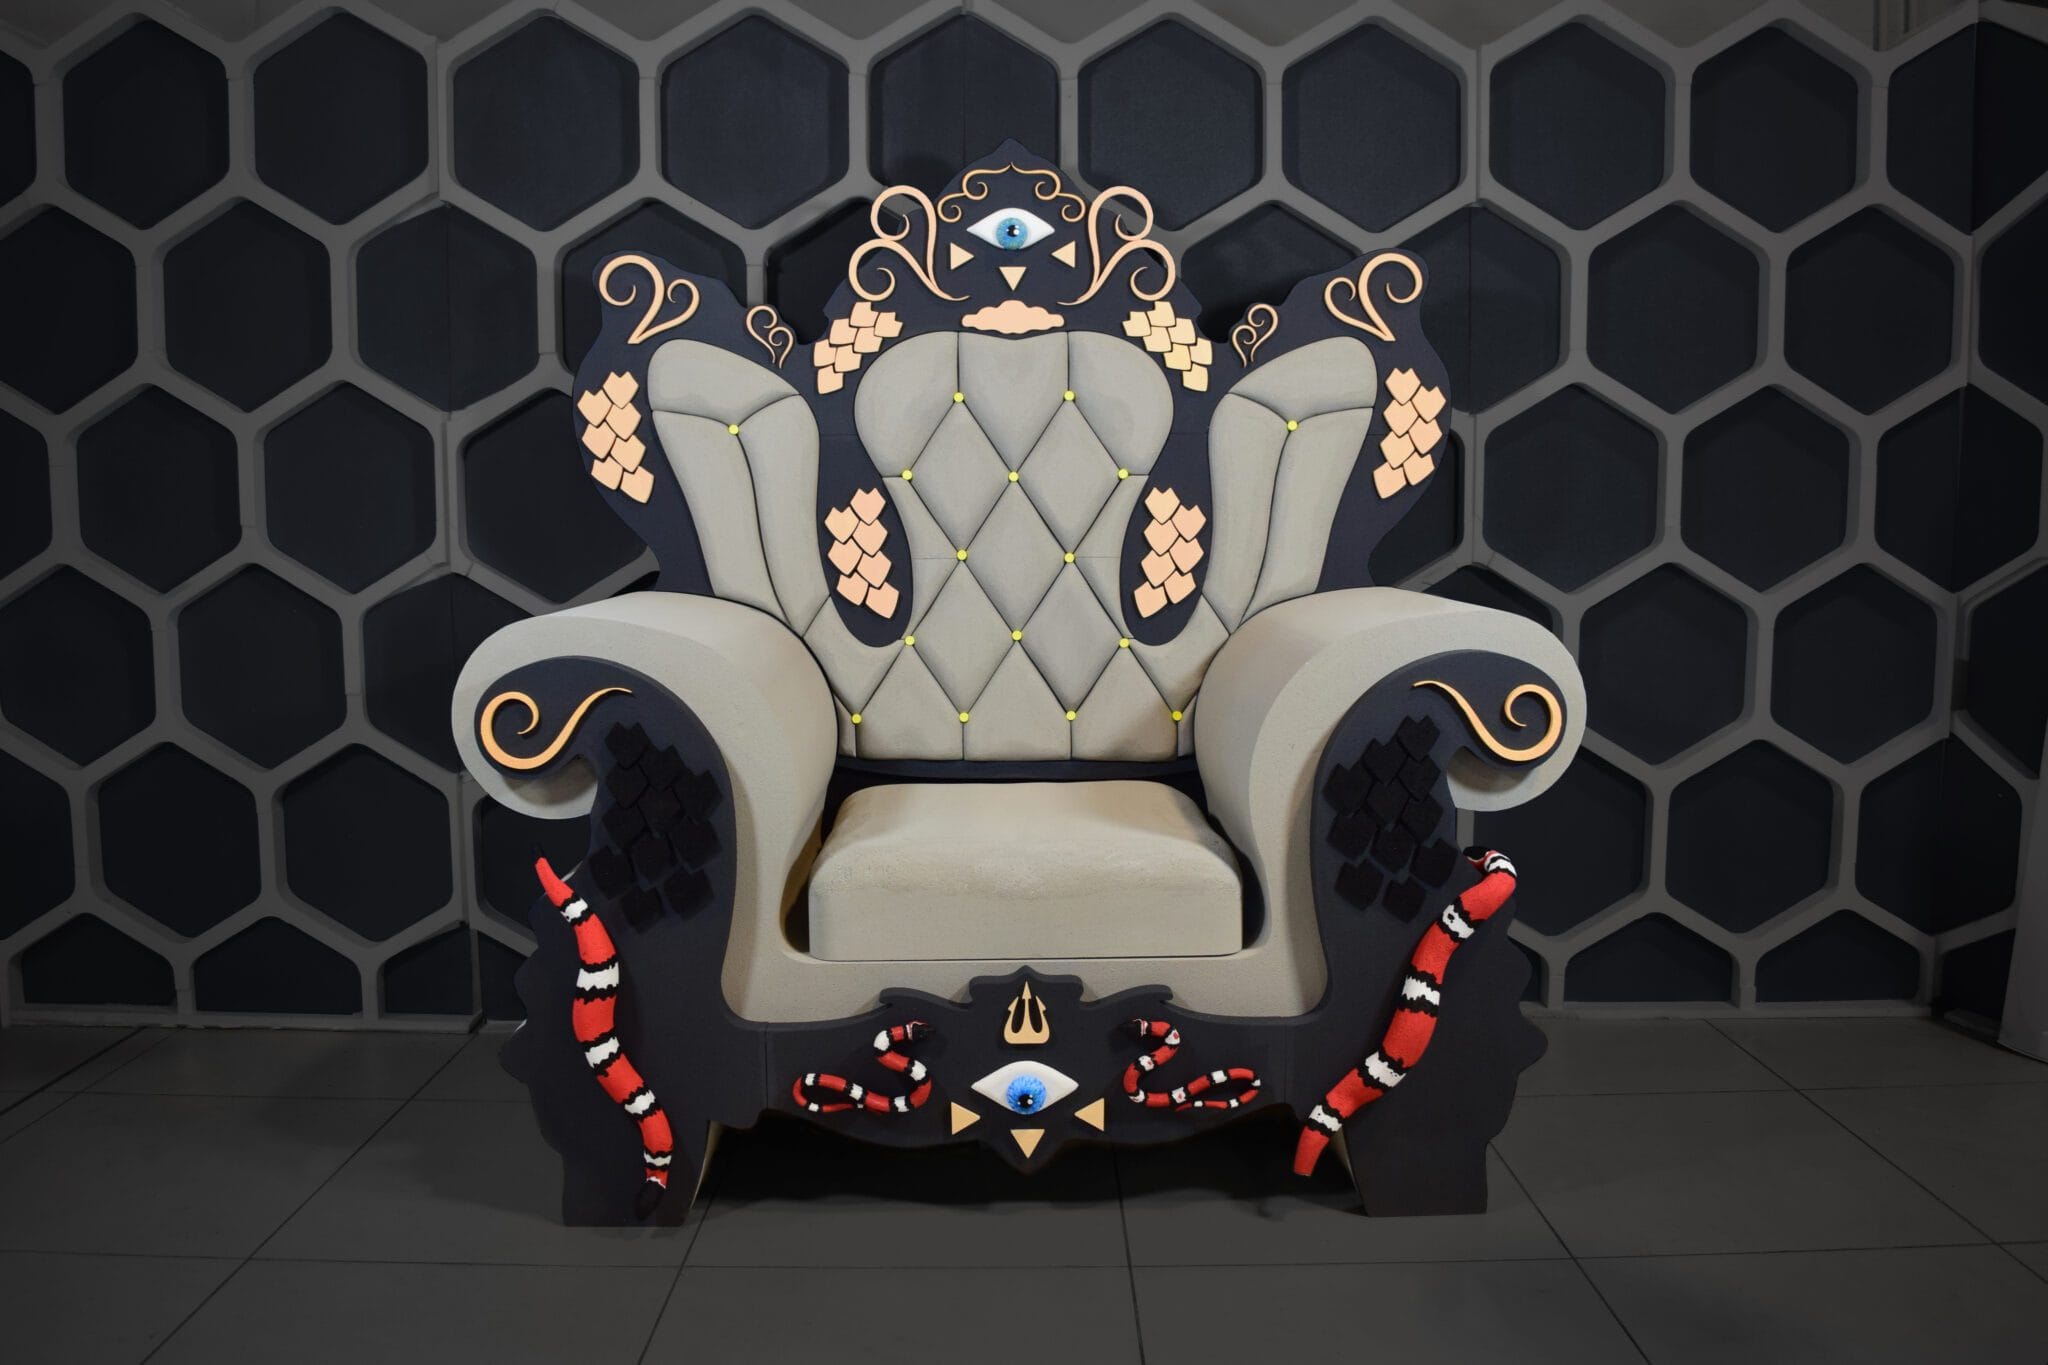
How to: 100% functional EPS throne
100% functional foam throne There are countless things you can do with foam, yet whether you’re a beginner or a pro,